
DIY Microscope for mobile phones
The DIY Microscope is a home-made and very cheap microscope for your mobile phone. It is device independent! All you have to do is adjust the hardware support to your device, the microscope lens doesn't need to be adjusted!
The idea was to quickly create a powerful microscope to use at home. It can be safely used by children of any age! It is a approximately 60x microscope or more! And..... you don't have to care if it is broken... it's cheap and all the parts can be easily found anywhere!
Model 3
Mobile microscope with an old CD-ROM drive lens
After making a mobile microscope with a webcam lens I found out that I could also use an old cd-rom drive lens. The quality of the lens affects the final amplification obtained and the clarity of the image. So, time to try!
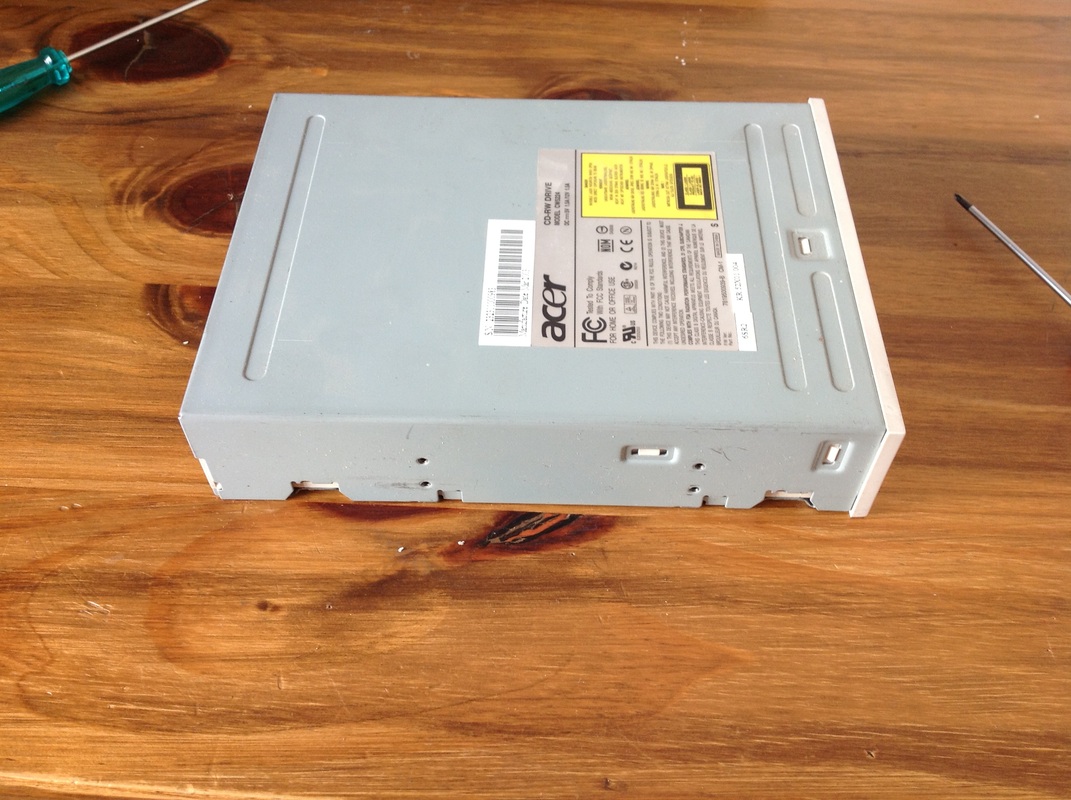
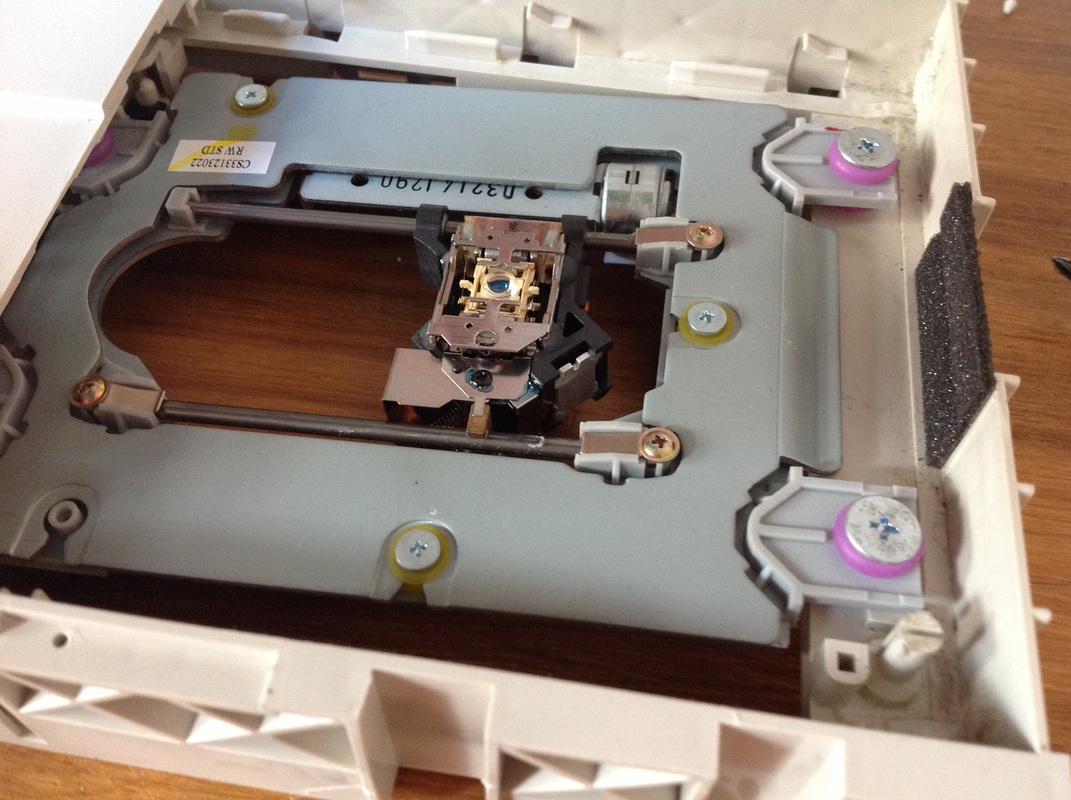
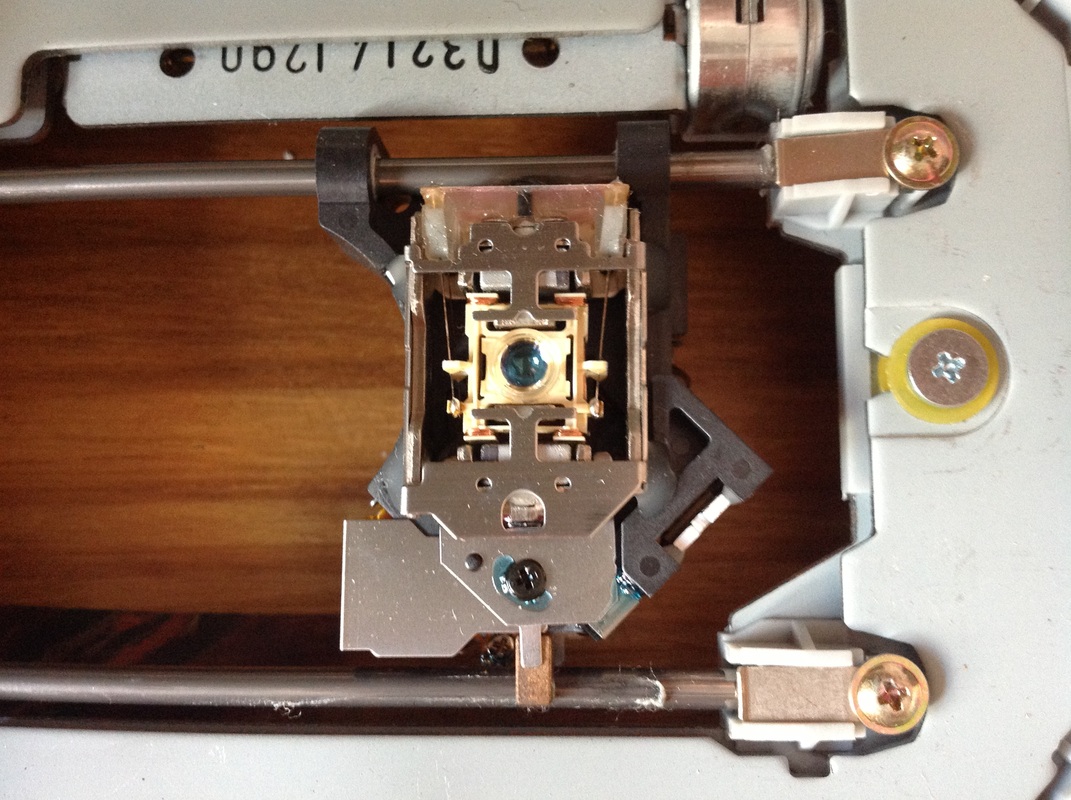
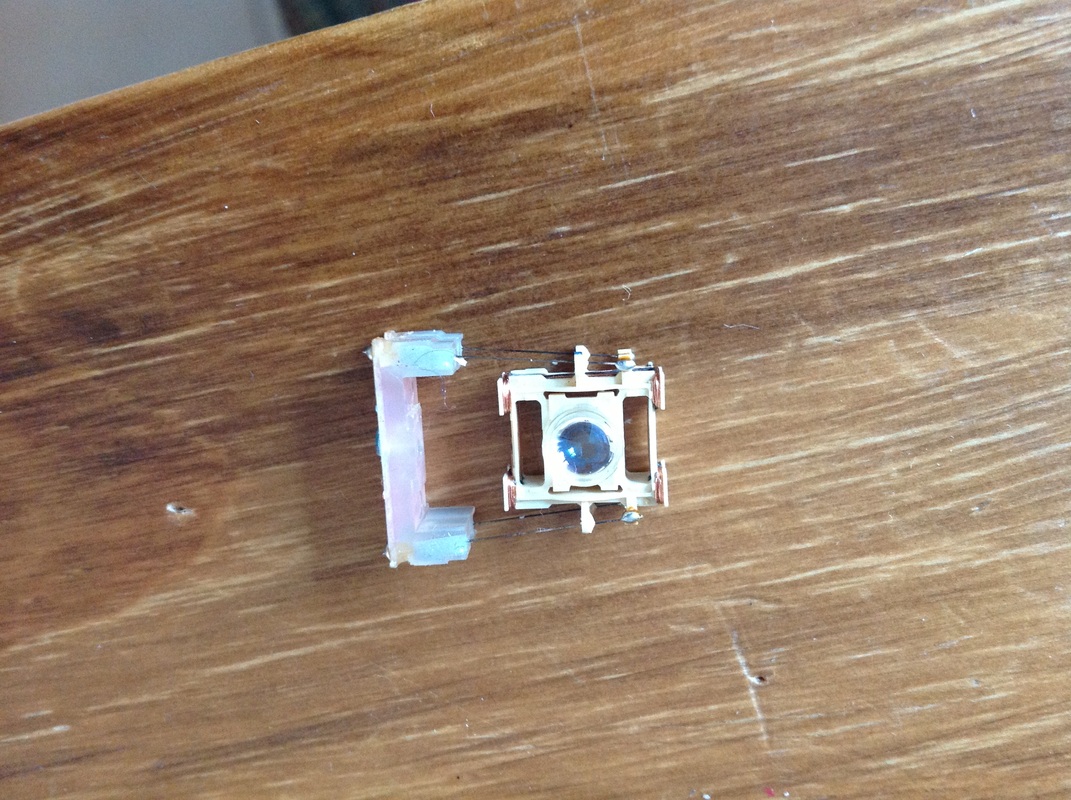
1. First step: disassemble the CD-ROM drive and extract the lens.
|
|
|
|
2. Step two: find a support to hold the lens
I didn't had useful material to hold the lens. All I found was an unused watch hand, that had a perfect size hole on one end. I pulled out all the plastic stuff surrounding the lens and place it in the watch hand.
You can see it in the picture below.
You can see it in the picture below.
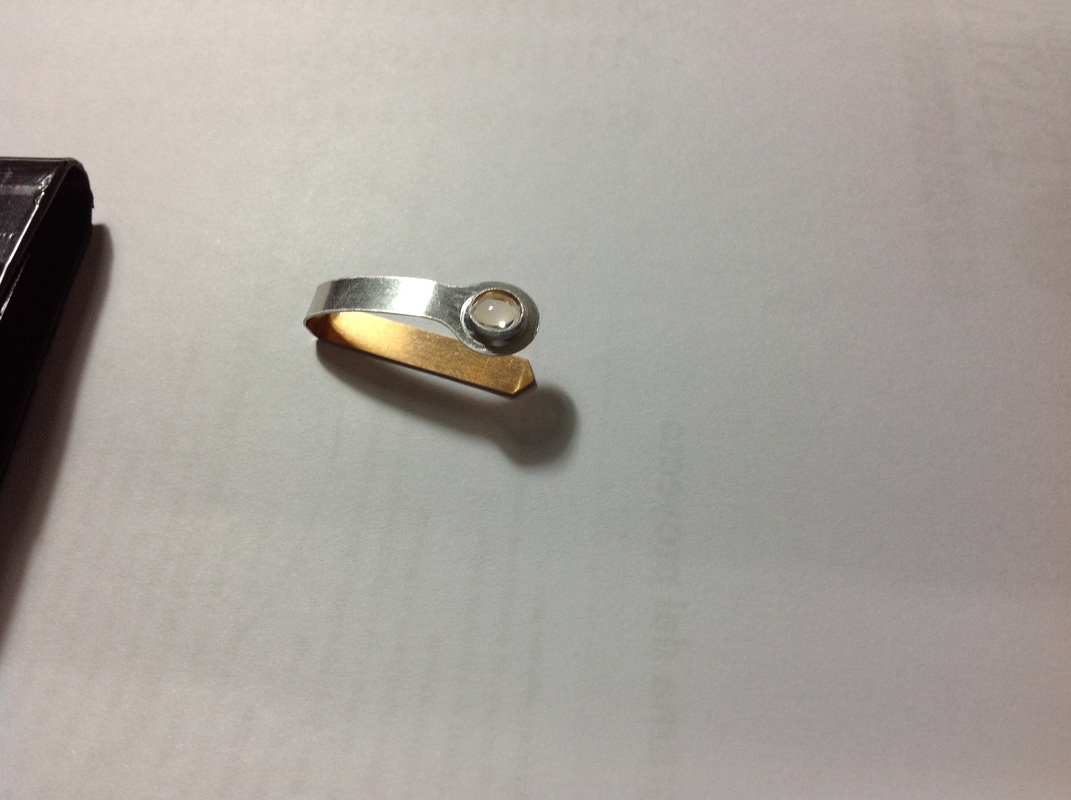
|
The support should be made having in mind the mobile device which with you want to use the microscope.
I made it to be used on an iPad. Here is how it fits into it. 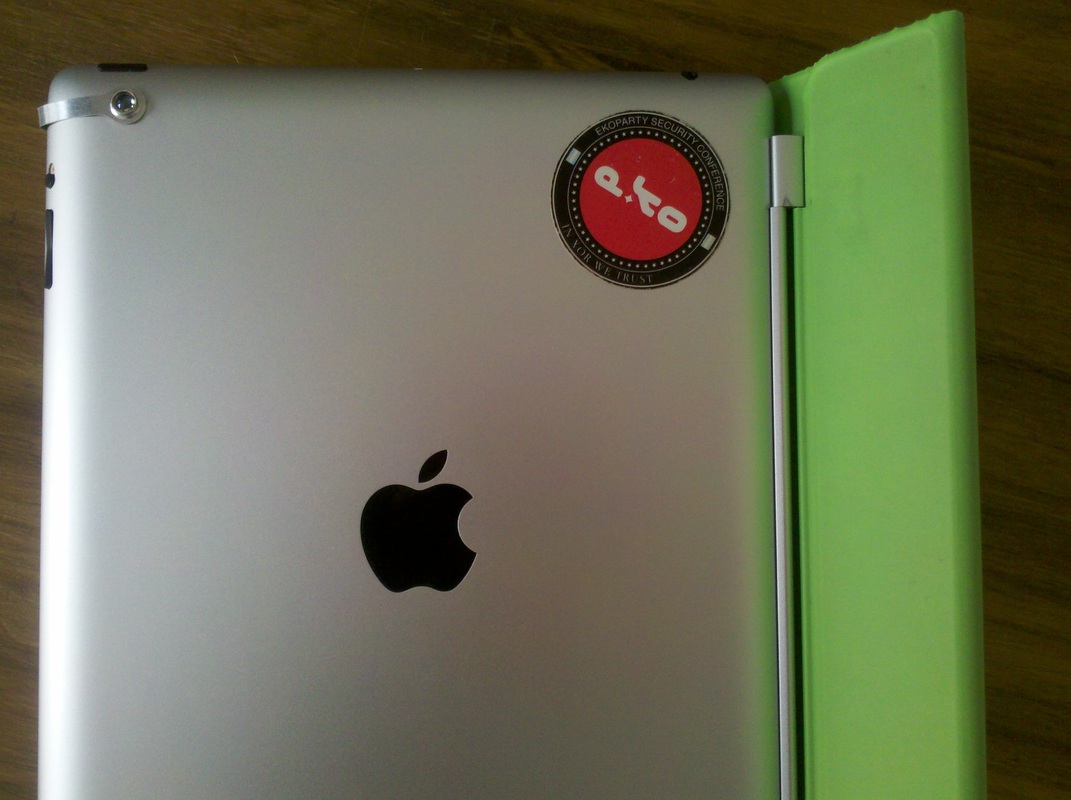
|
3. Finally! Explore the micro world!
Here are some pics I took using this microscope!
Model 1
This was the first model of mobile microscope I made. It lacks of pics about the construction process. I'll try to fill this gaps soon.
Instructions:
- Get an old webcam. The webcam may not work, only be sure that the lens is not broken.
- Disassemble the webcam
- Extract the lens, carefully
- Turn your device camera on
- Place the webcam lens backward into the device camera. Just place it in front of the camera and hold it.
- Look something small with the webcam app with your cellphone holding the webcam lens tight. You will see it magnify the image (if not, then you try turning the lens in the other direction)
- If you can see the image amplified then you are ready!
- Next step is to build a support for the lens so you can have hands-free. You can use: metal, plasticine, styrofoam, cardboard or anything else. The idea is to model the material to make a support for the lens. The support should be removable from your device. Check the pictures below.
- Explore the micro world!!!
